
Homemade Ghee Recipe
Introduction
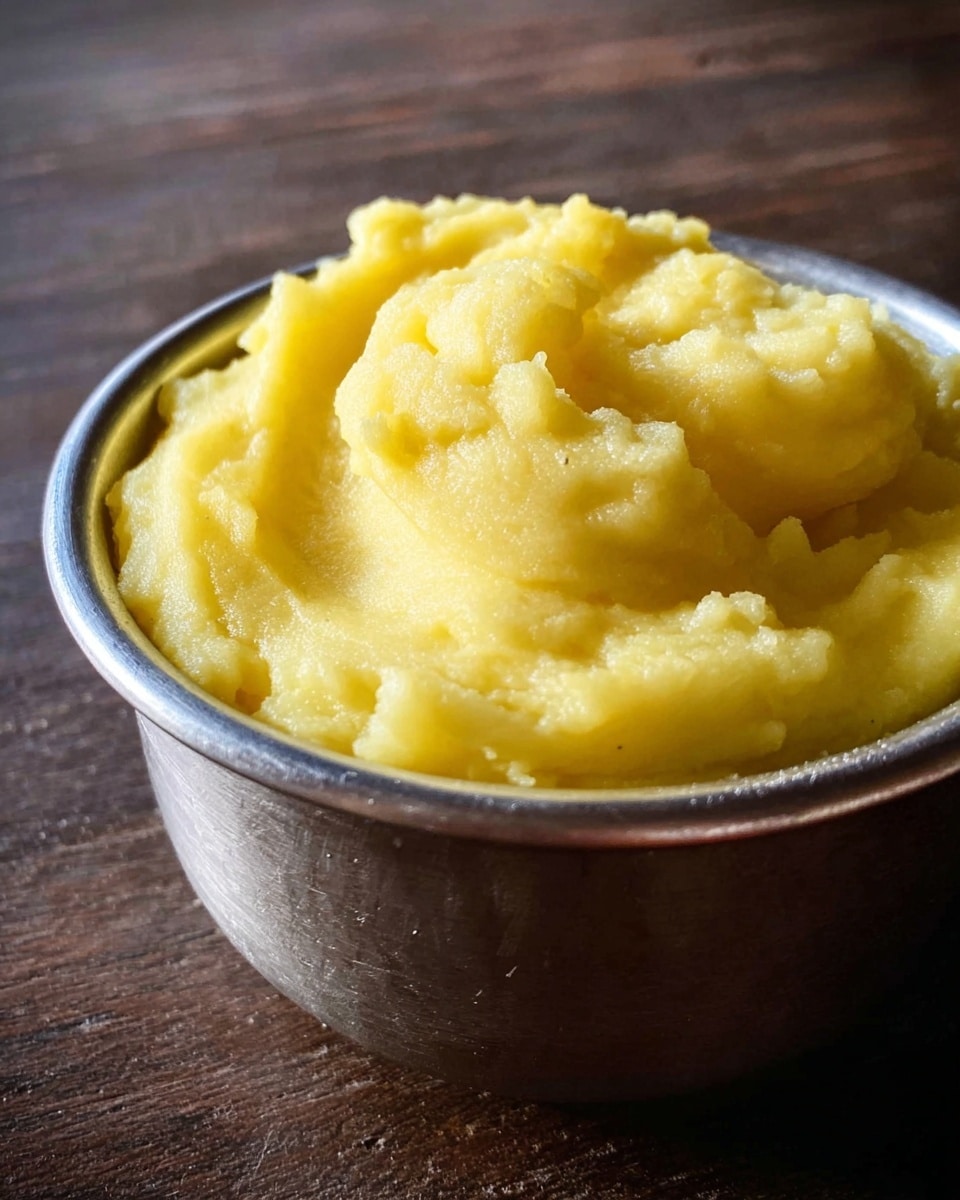
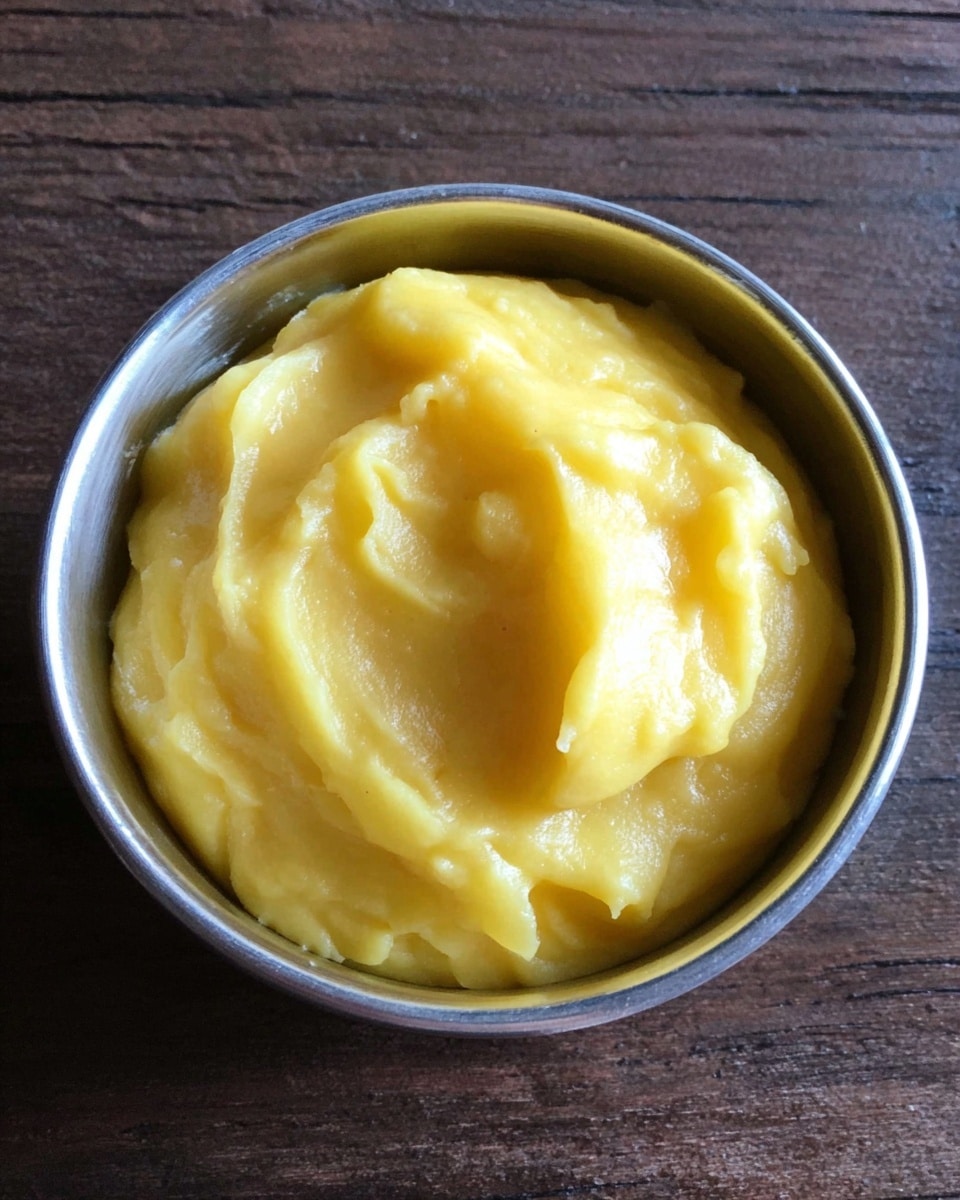
Ghee is a clarified butter with a rich, nutty flavor and a high smoke point, perfect for cooking and adding depth to dishes. This simple recipe walks you through turning unsalted butter into homemade ghee, which can be stored easily and used in a variety of recipes.
Ingredients
- 250g unsalted butter
Instructions
- Step 1: Heat the butter in a small, sturdy pan over low heat without stirring.
- Step 2: Cook for 15-20 minutes, or until the milk solids start to brown and the butter turns golden.
- Step 3: Turn off the heat and leave the pan undisturbed for a few minutes.
- Step 4: Line a metal sieve with muslin or strong kitchen paper and place it over a heatproof bowl.
- Step 5: Carefully pour the melted butter through the sieve, leaving the browned milk solids behind in the pan.
- Step 6: Allow the liquid to drip for a few minutes, then transfer the strained ghee to a clean jar.
Tips & Variations
- Use a low and steady heat to avoid burning the milk solids, which can make the ghee taste bitter.
- For a nuttier flavor, you can toast the milk solids slightly longer but watch carefully to prevent burning.
- If you don’t have muslin, several layers of strong kitchen paper will work to strain the ghee.
Storage
Store ghee in an airtight jar at room temperature for up to three months, as it contains no moisture or milk solids. For longer storage, keep it in the refrigerator where it will last even longer. When needed, use a clean spoon to scoop out the ghee; it may solidify in cooler temperatures but will melt quickly when heated.
How to Serve
Serve this delicious recipe with your favorite sides.
FAQs
Can I use salted butter to make ghee?
It’s best to use unsalted butter to make ghee so you can control the saltiness in your final dishes. Salted butter may affect the flavor and shelf life of the ghee.
Why does the butter need to cook for so long without stirring?
Cooking gently without stirring allows the milk solids to separate, brown, and sink to the bottom, which imparts the distinct nutty flavor of ghee and clarifies the butter properly.
Print
Homemade Ghee Recipe
- Total Time: 20-25 minutes
- Yield: Approximately 215g of ghee 1x
- Diet: Gluten Free
Description
This recipe guides you through making homemade ghee, a clarified butter commonly used in Indian and Middle Eastern cuisines. By gently melting unsalted butter and cooking it until the milk solids brown, you obtain a rich, nutty-flavored fat that is shelf-stable and versatile for cooking or drizzling.
Ingredients
Ingredients
- 250g unsalted butter
Instructions
- Heat the butter: Place the unsalted butter in a small, sturdy pan over low heat. Cook it gently without stirring for 15-20 minutes until the milk solids at the bottom start to brown and the butter turns golden in color.
- Rest and separate: Turn off the heat and leave the pan undisturbed for a few minutes to allow any remaining solids to settle.
- Strain the ghee: Line a metal sieve with a piece of muslin cloth or strong kitchen paper and position it over a heatproof bowl. Carefully pour the melted butter through the sieve, leaving the browned milk solids behind in the pan. Let it drip through for a few minutes.
- Store the ghee: Transfer the strained ghee into a clean jar once cooled. Because ghee is free from moisture and milk solids, it can be stored at room temperature for up to three months or refrigerated to prolong its shelf life.
Notes
- Use unsalted butter to control the salt content in your ghee.
- Be patient cooking on low heat to avoid burning the butter; the browning milk solids give ghee its distinctive flavor.
- Ghee solidifies at room temperature but melts quickly when heated.
- Store in a clean, airtight container to maintain freshness.
- Ghee is suitable for high-heat cooking due to its high smoke point.
- Prep Time: 2 minutes
- Cook Time: 15-20 minutes
- Category: Condiment
- Method: Stovetop
- Cuisine: Indian
Keywords: ghee, clarified butter, Indian cooking, homemade ghee, clarified butter recipe, stovetop ghee


